Getting Familiar with Field Records
Aptli's map is organised around layers and features — standardised definitions for the real-world assets you track. This page introduces those concepts and shows you how to load data onto the map using the import tools.
Note: If you've gone over the login-logout concepts and noted some of the interactions of
Verify Accessyou'll see some simple, general basics for how we handle some importing functions. There are a few differences in field records with a map view that we'll cover at a glance here.
Navigate to the Field Records from the Navigation Menu.
Once the map is available, click on the Navigation Menu again and notice additional options for toolbars appear.
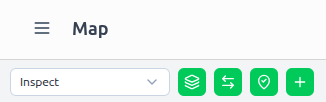
The first on the list is the layer manager.
What's a layer?
In Aptli, a layer is standard definition for a class of object. These clases of objects are often referred to as features which are representations of "things" on a map. An example might be a telephone pole.
There's no limit to the number of feature types, but every layer remains consistent and standardized. This means if it you see a skinny pole next to a wide pole, you can bet these two are on different layers and have different definitions. In this way, you might have two different poles, but all poles of the same type are represented the same way and defined the same way.
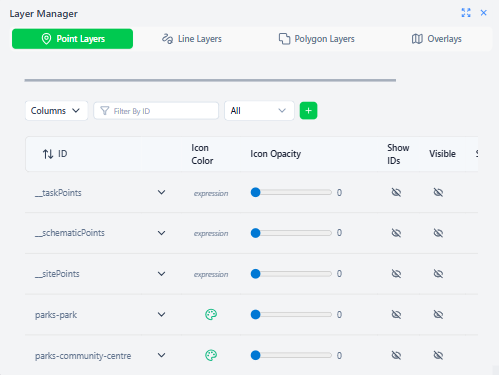
If you're looking at the default deployment you should see a handful of private layers marked with '__' that you can you can tailor yourself. There's typically 3:
- tasks, which are a collection of activities tied to resources (inventory and effort) in the field
- schematic, which are flexible diagrams that are used to represent objects in a conceptual diagram. (In telecom and construction, you could think of this as a long-haul network map or a single sewer's splice diagrams. In other fields, you could imagine this as a subway map, which is a conceptual drawing that is not to scale.)
- sites, which are special locations which store inventory
Now tasks and sites don't always show up on map, but this will be covered more advanced sections.
Imports
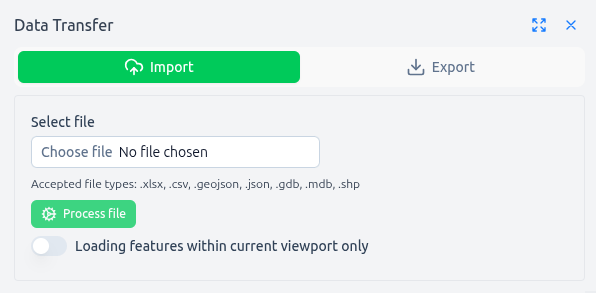
Aptli is designed to take imports from a variety of sources. In the case of field reports it'll take .xlsx, .csv, .geojson, .json, .gdb, .mdb, .shp
Select the Data Transfer Toolbar.
If you require some samples for training, you can download a handful of ready‑made geojsons from the public guide folder. Choose any of these and save them locally before importing:
- toronto-sample.csv
- toronto-sample.xlsx
- cycling-network – 4326.geojson
- Neighbourhoods – 4326.geojson
- Parks and Recreation Facilities – 4326.geojson
- Pedestrian Network Data – 4326.geojson
Depending on the type of file you select, you'll see a few different options like this:
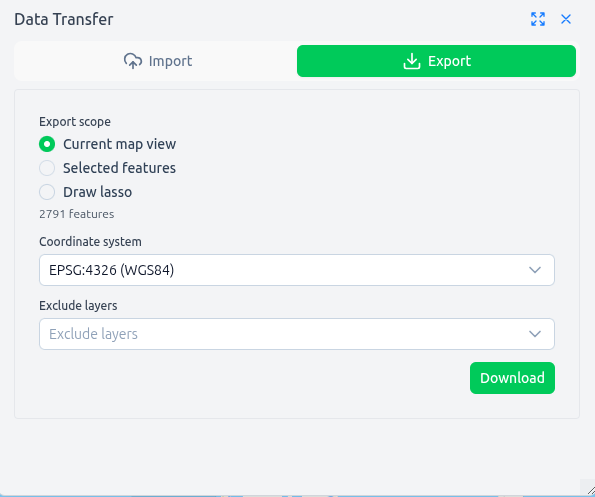
Note: You can adjust the options, but the import process is flexible and can take a mix of feature types, provided they're points, lines and polygons all in the same file.
~20 imported features are added automatically to the "Selected Features" menu at the top. You can view the details of these by clicking on the map.
Import workflow step‑by‑step
- Choose or drop a file in the toolbar. The file selector accepts the formats listed above.
- Fill in the options that appear beneath the selector. For GeoJSON/CSV/XLSX you'll be asked for a temporary layer name, allowed geometry types, and various cleaning/reprojection switches. For GDB/MDB/ZIP the form only has a "Queue import" button – these are processed on the server.
- Process the file.
- The file is parsed and the features are queued for import. A preview modal appears showing the count and geometry types; when you’re ready, click Confirm import to add them as drafts.
- Imports are processed in the background; use the job selector on the toolbar to watch progress. When a job reaches complete, select it and click Load features (optionally limiting to features within the current viewport).
- Review the imported drafts. If the import references a layer that doesn’t exist, the new features appear on the map with a purple outline (draft style); if the target layer exists, they go directly into that layer. Use the draw toolbar’s select tools to inspect them before committing.
💡 Tip: if you accidentally import the wrong file, use the clear button next to the job selector to remove the draft features from the map; if it’s already on the map you can also undo. You may need to undo a few times because it will undo extra layers created as well.